
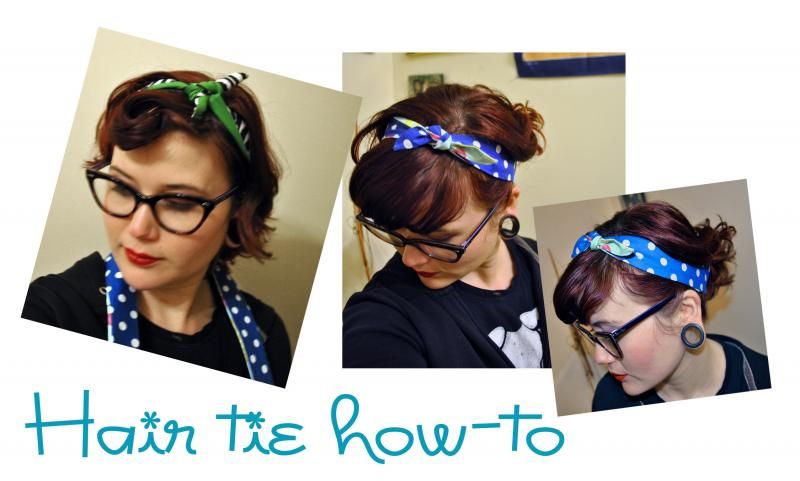
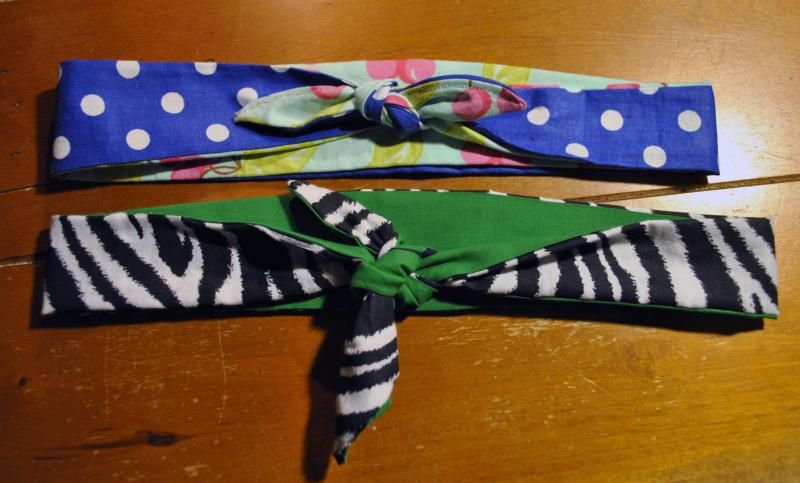
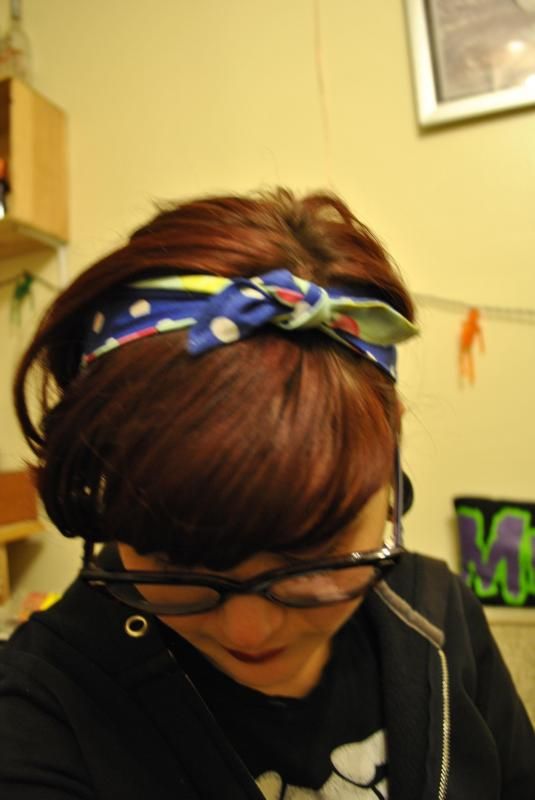
I have tons of bandannas, all of which have seen better days so when I noticed how badly battered my favorite one was I finally realized what would be the best use of my bag of fabric scraps. The best part? I got to pick and choose what color combinations I made my new hair accessories in. These hair ties are thicker on the strip that falls on the back and a little thinner than most bandannas overall so they easily tie neatly at the top of your head.
Step-by-step below:
1. I tend to fold my bandannas the same way over and over again, so i used that as a pattern to cut my first piece of fabric out of.
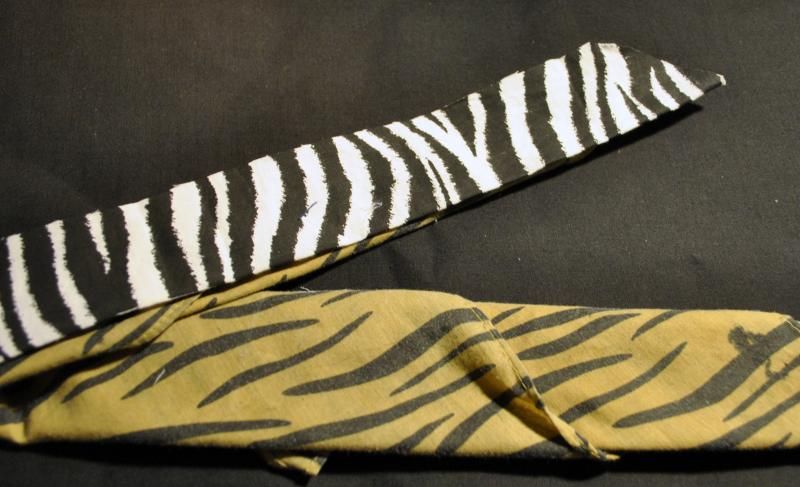
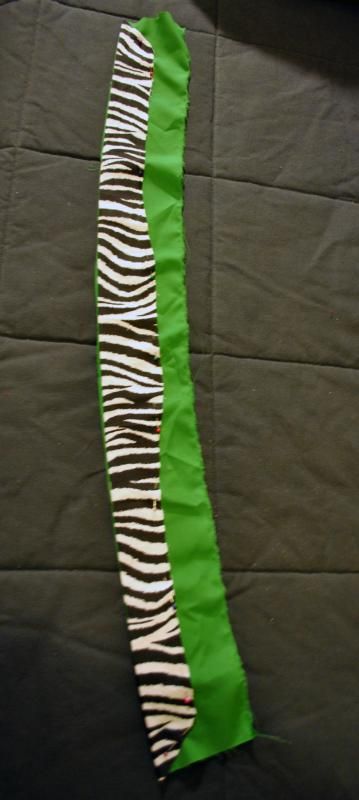
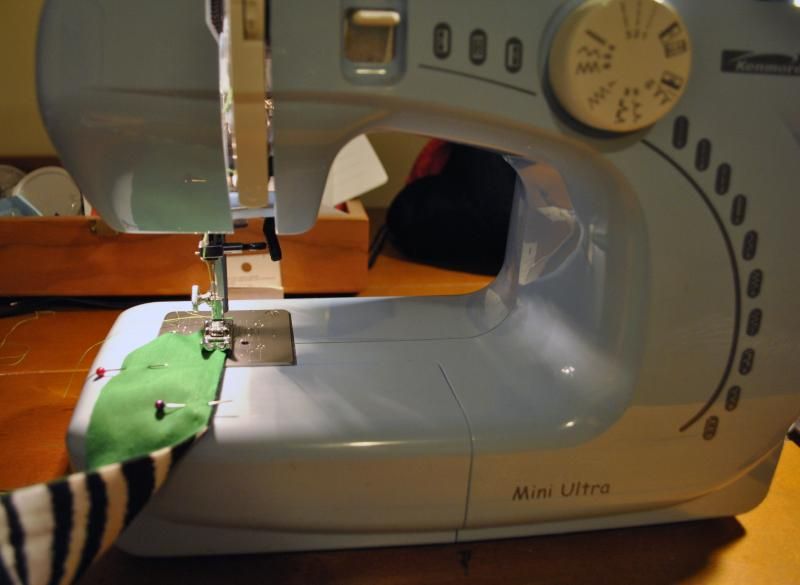
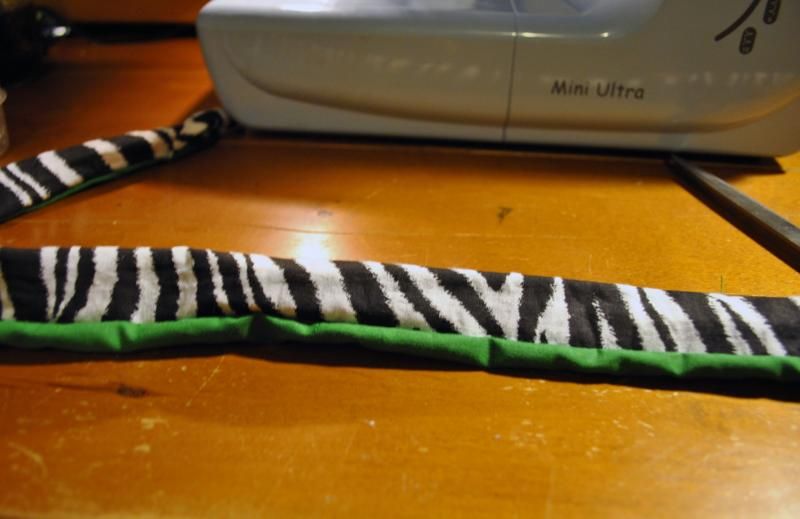
2. Next, I chose my second piece of fabric, solid green, and proceeded to pin the pieces together so I could cut them to be the same width. The middle is thicker and it tapers at the ends so that the widest piece will always fall behind your head.
 |
 |
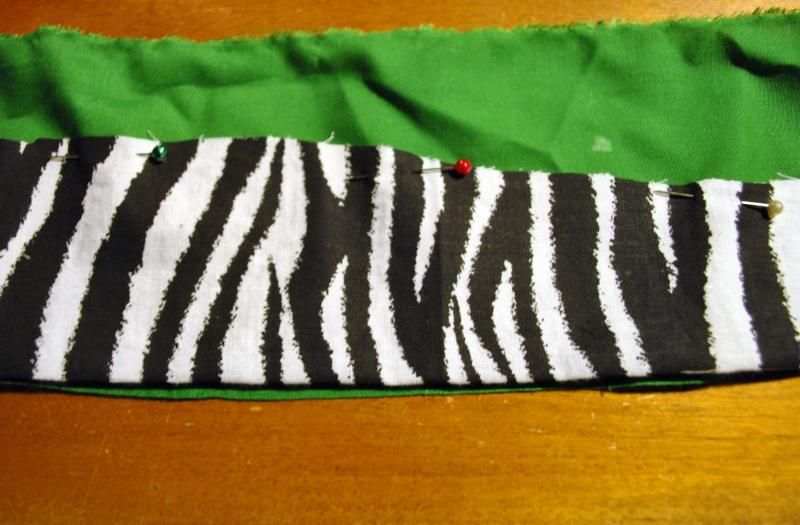
| The whole piece looked like this before I cut it to size |
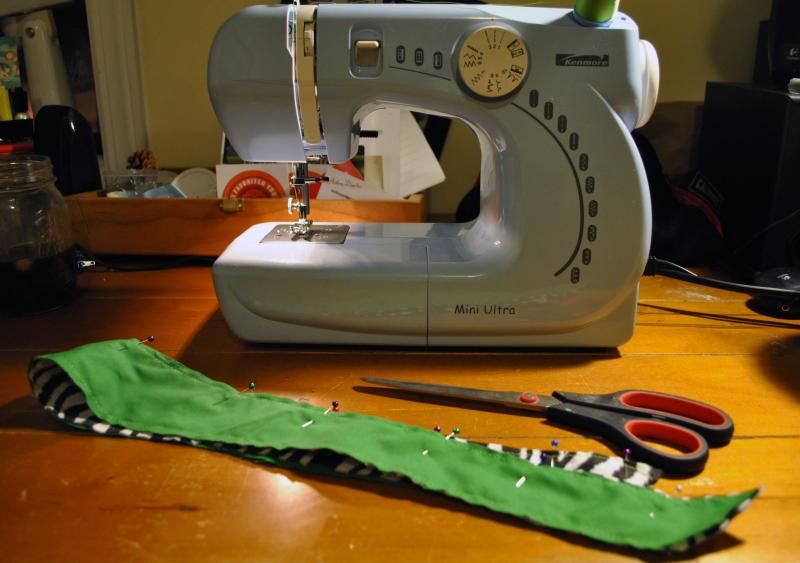 |
| Cut both pieces of fabric the same and pin together to make it easy to quickly sew the sides. |
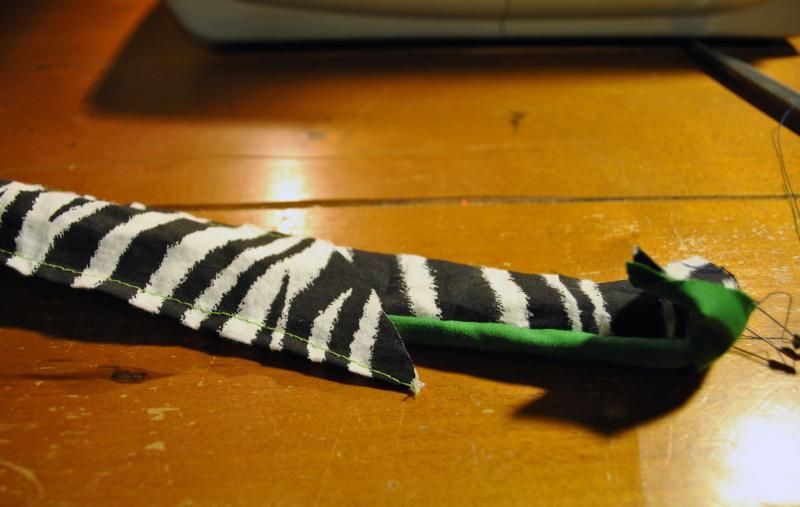
4. Turn the tube inside out. I find the easiest way to do it is with a safety pin - If you've never done this before click the link and check out the photo tutorial/sewing tip from the talented the make it, love it blog. You can also use a loop turner.
 |
| It'll look a little like a squggly worm once youve turned the entire strip :) |
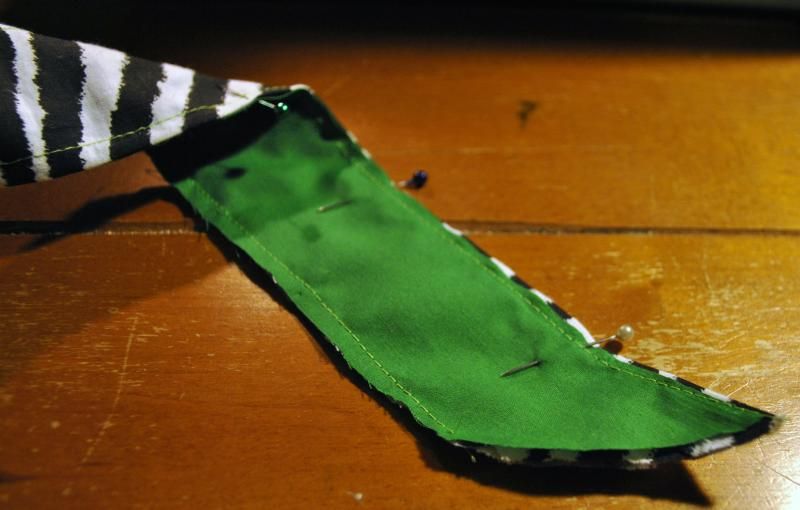
5. Take an iron and flatten the piece then cut the edges and sew them together.

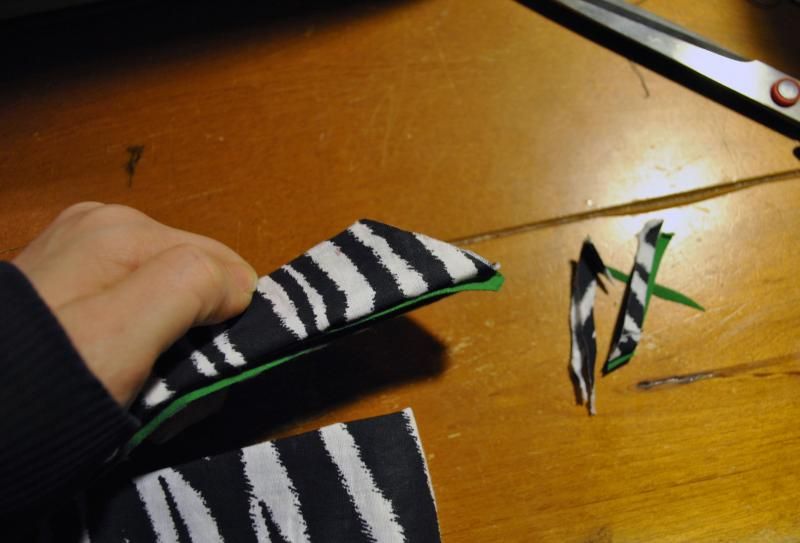
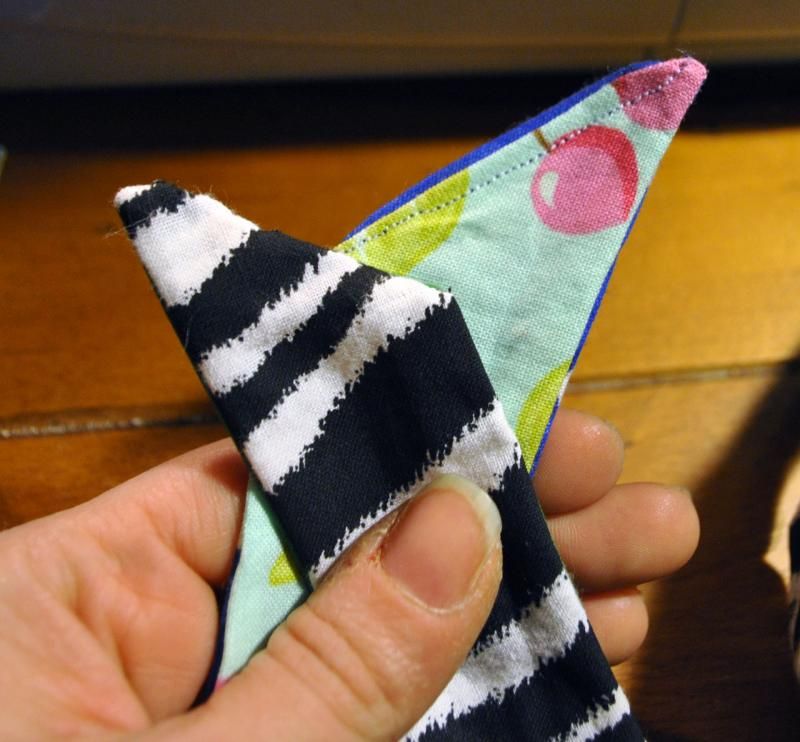
If you sew the edge by hand, you can make an invisible seam but if you prefer the flat edge that you get from sewing with your machine you can do that too. Take a look at what the different edges would look like below:


No comments:
Post a Comment