

Showing posts with label how to. Show all posts
Showing posts with label how to. Show all posts
Jan 26, 2014

Sep 10, 2013
How to Tuesday: Lined zippered pouch out of an onion bag

We tend to go through a lot of onions in the kitchen so I always grab large bags of them at the grocery store and they come in these mesh bags (see in the far left) which have always struck me as DIY project waiting to happen. The font and graphics on the front are really cool so I knew I really wanted to use them in some way for some time now. I finally decided on an idea this week and set out make a pouch with it and some leftover fabric. Came out pretty polished for a first try, Riki saw it at home and thought I'd bought it!
Want to make your own? Click below for a picture heavy step-by-step on how I made it:
Aug 16, 2013
Cocktail time: Tiki drank

EASY TIKI DRANK
Word on the street is that today, August 16th is National Rum Day so debuting a new cocktail series on the blog is only appropriate! "Cocktail Time", the new series of posts will showcase tried and tested cocktail recipes from my very own home mixologist, and boyfriend extraordinaire. For more on him and his experience on the category read his profile below.
It was purely a coincidence that the first recipe he sent through is a rum cocktail but I personally can't think of a better way to celebrate the "holiday" and kick off the weekend than with a delicious tropical tiki drank in hand!
Cocktail recipe after the jump!
It was purely a coincidence that the first recipe he sent through is a rum cocktail but I personally can't think of a better way to celebrate the "holiday" and kick off the weekend than with a delicious tropical tiki drank in hand!
Cocktail recipe after the jump!
Mar 31, 2013
Tutorial: How to make your own hair ties (Photo heavy!)
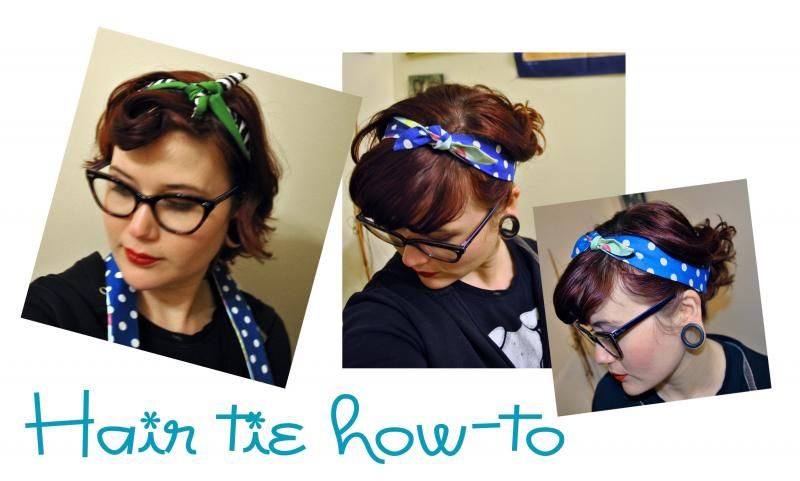
I have tons of bandannas, all of which have seen better days so when I noticed how badly battered my favorite one was I finally realized what would be the best use of my bag of fabric scraps. The best part? I got to pick and choose what color combinations I made my new hair accessories in. These hair ties are thicker on the strip that falls on the back and a little thinner than most bandannas overall so they easily tie neatly at the top of your head.
Step-by-step below:
Mar 9, 2013
Easy Yarn DIY

Here's an incredibly simple little sunday project. For this project, I slowly unraveled an old unfinished knitted piece and wrapped around a vase to dress up an otherwise boring clear vessel. I simply wrapped the piece for a semi-temporary uplift but if you can also glue the yarn to the base to secure it for a more permanent and even look. I personally like the idea of taking the yarn off when I feel like giving this vessel a new look but if you are doing this for an event or on a bottle instead of a vase It may be better to just glue it on.
Note: This is also a great way to utilize yarn scraps - as long as they are at least long enough to wrap around the vase once or twice.
Below is a step-by-step look at how I did mine..
Subscribe to:
Posts (Atom)